Watering the garden sounds simple, but it can quickly become one of the most repetitive jobs of the growing season.
A few warm days can dry out pots, raised beds and greenhouse crops surprisingly quickly. Then it rains for a week, but anything under cover still needs watering. That is where a simple drip irrigation system can be useful.
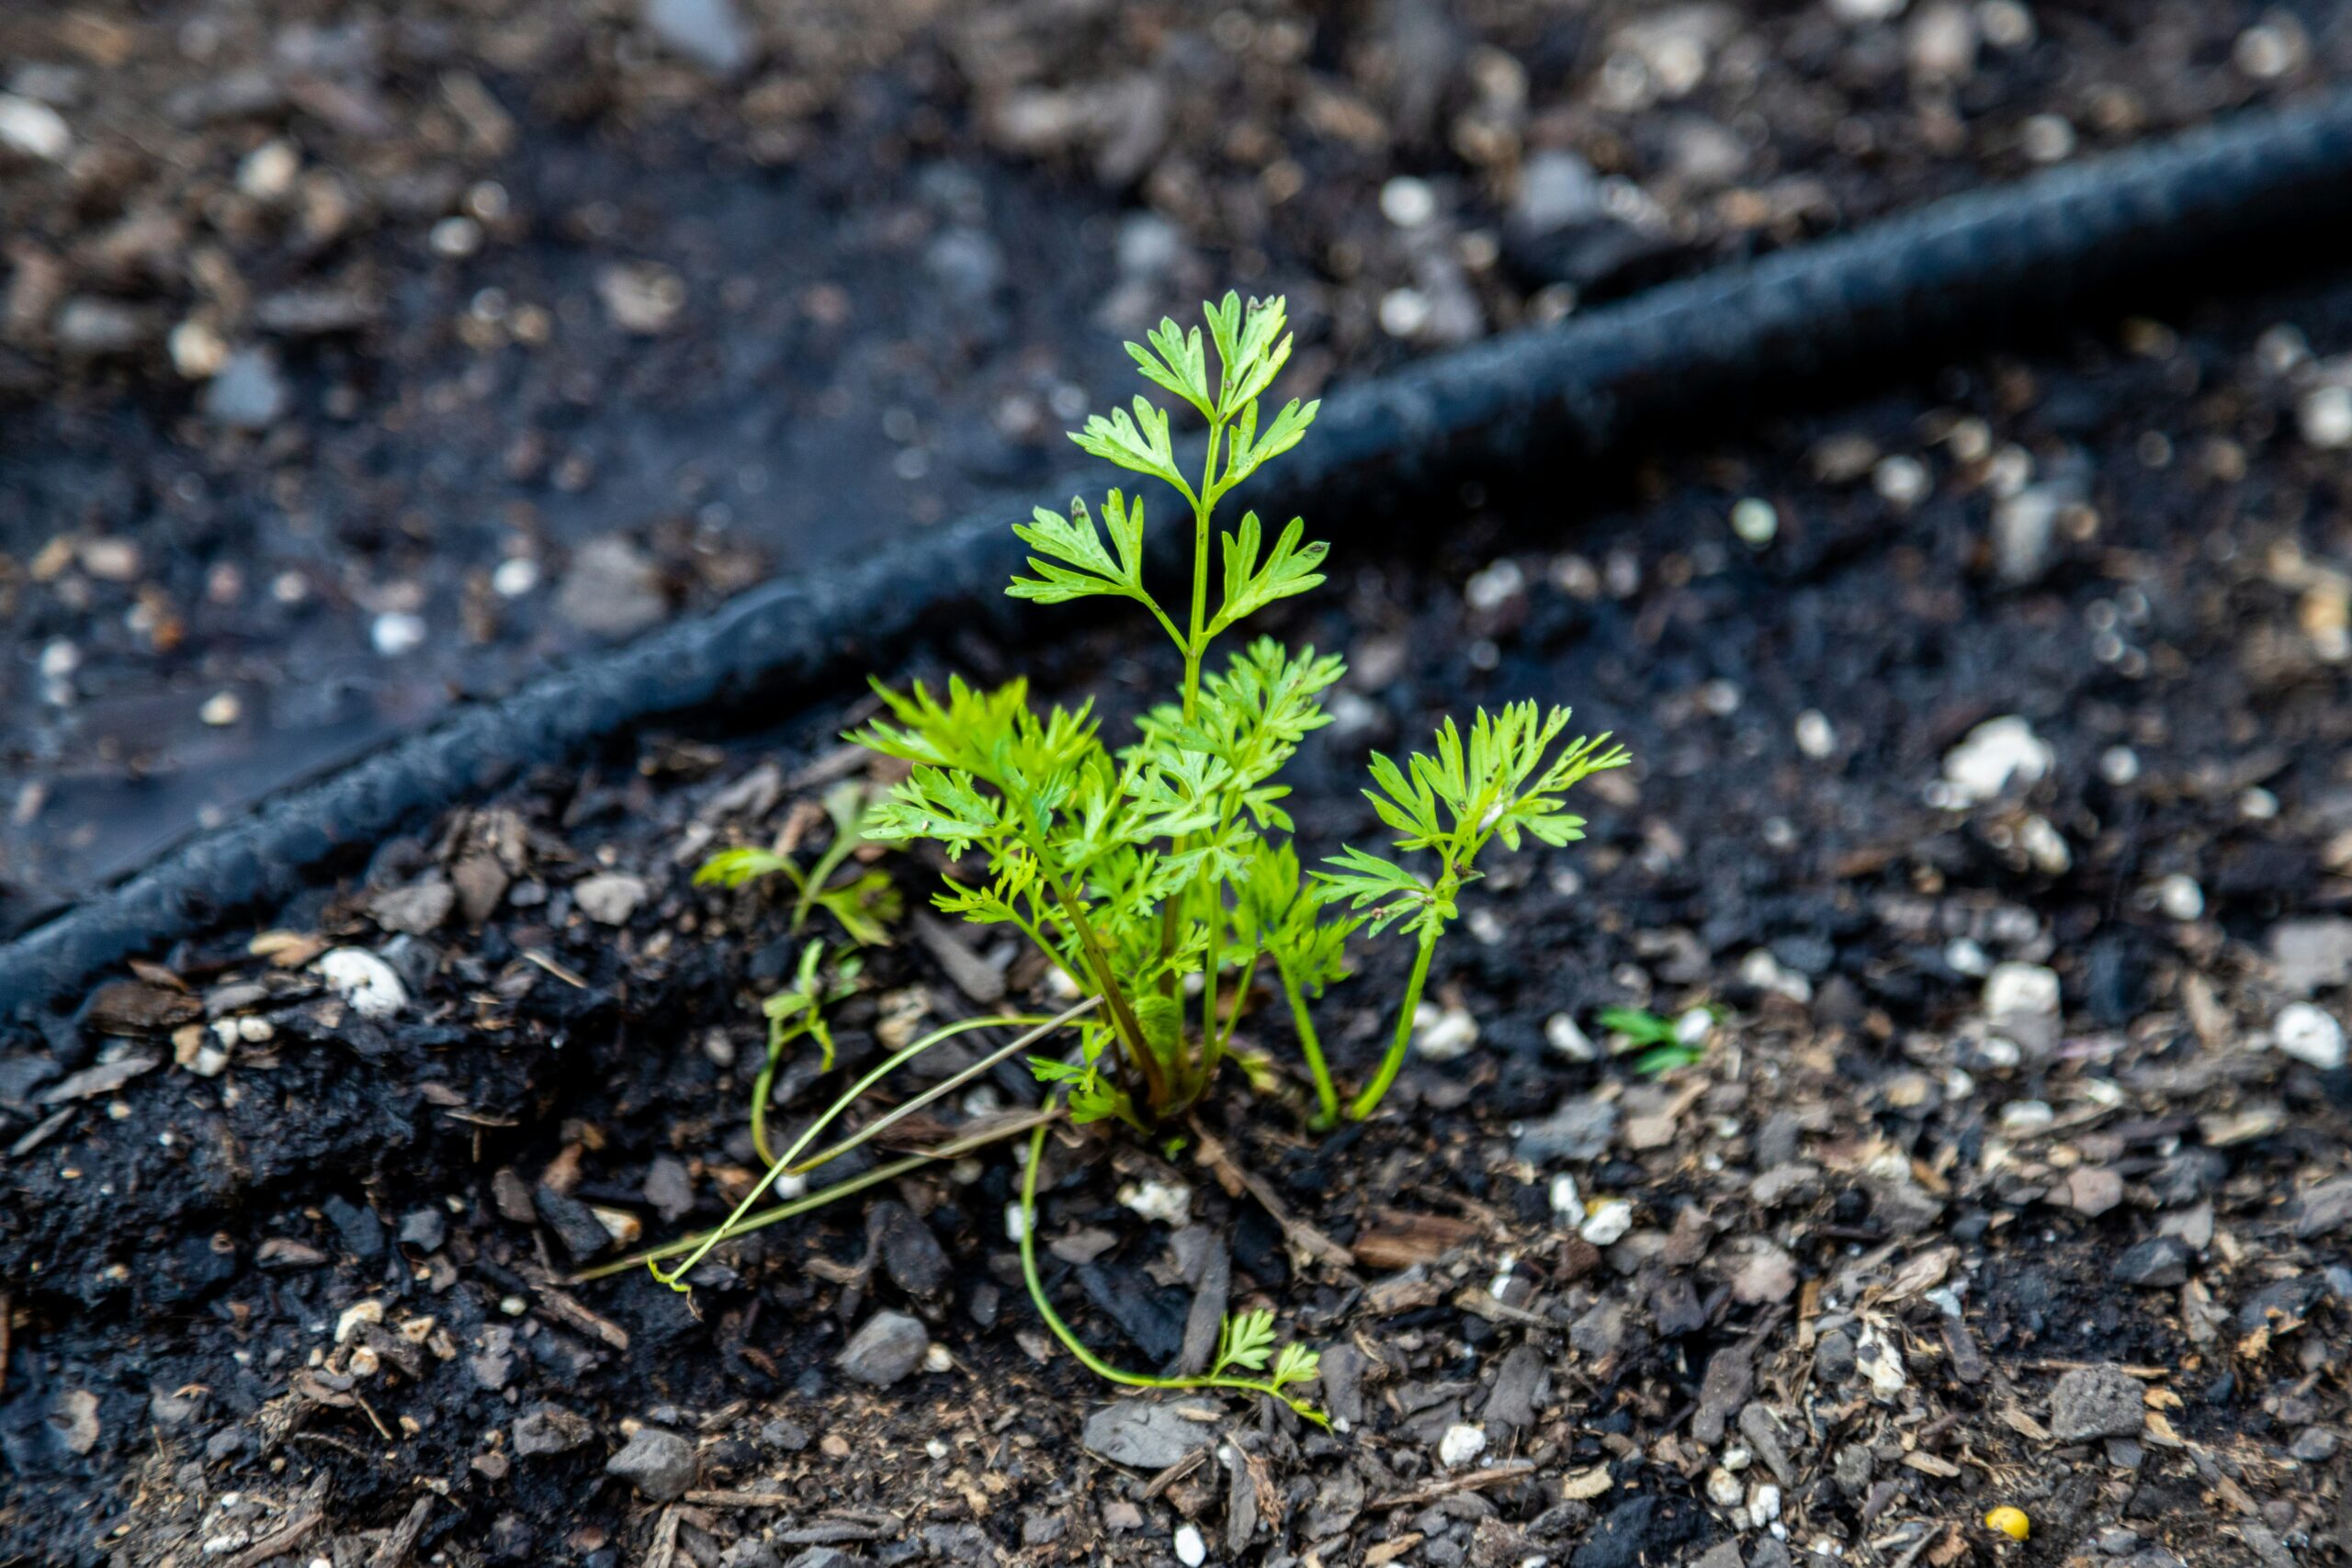
A drip irrigation system delivers water slowly and directly to the soil around your plants. Instead of spraying water across paths, leaves and empty gaps, it puts moisture close to the roots where it is actually needed.
For UK gardens, drip irrigation is especially useful for:
- patio pots
- raised beds
- greenhouse crops
- vegetable patches
- fruit bushes
- young plants
- holiday watering
- gardens where water use matters
It does not need to be complicated. A basic system can be made from a main pipe, smaller feeder tubes, drippers or soaker hose, connectors, and a timer if you want automatic watering.
This guide explains how to set up a drip irrigation system in the UK, when it is worth using, how it compares with sprinklers, and whether it can save money if you are on a water meter.
When Does Drip Irrigation Make Sense in a UK Garden?
Drip irrigation makes the most sense in parts of the garden that dry out quickly or need regular, consistent watering.
The main benefit is control. You can water the areas that need it most without soaking paths, leaves, bare soil or the gaps between plants. That is useful during dry spells, but it is also helpful in greenhouses, polytunnels and containers where rain does not always reach the soil.
Drip irrigation is especially useful for:
- tomatoes, cucumbers, peppers and chillies
- greenhouse beds and grow bags
- patio pots and containers
- raised vegetable beds
- newly planted shrubs and fruit bushes
- holiday watering setups
- gardens using stored rainwater
It is less useful for large lawns or very mixed borders where plants are spread out randomly. In those areas, watering by hand, using mulch, choosing drought-tolerant plants and relying on rainfall may be simpler.
For pots, raised beds and greenhouse crops, though, drip irrigation can save time, reduce wasted water and help keep moisture levels more consistent.
Drip Irrigation vs Sprinklers and Watering Cans
There is no single best way to water every garden. Watering cans, sprinklers and drip irrigation all have their place.
Watering cans
Watering cans are simple, cheap and flexible.
They are ideal for:
- seedlings
- small gardens
- newly planted pots
- individual thirsty plants
- quick evening checks
The downside is time. If you have lots of pots, raised beds or greenhouse crops, watering by hand can become a daily job in warm weather.
It is also easy to water unevenly. Some plants get soaked, others are missed, and the pots at the back of a greenhouse are often the first to suffer.
Sprinklers
Sprinklers are convenient for lawns and larger open areas, but they are not very targeted.
They often water:
- paths
- fences
- leaves
- bare soil
- gaps between plants
They can also lose water through evaporation, especially during warm or windy weather. Sprinklers are useful in the right place, but they are rarely the most efficient way to water pots, raised beds or greenhouse crops.
Drip irrigation
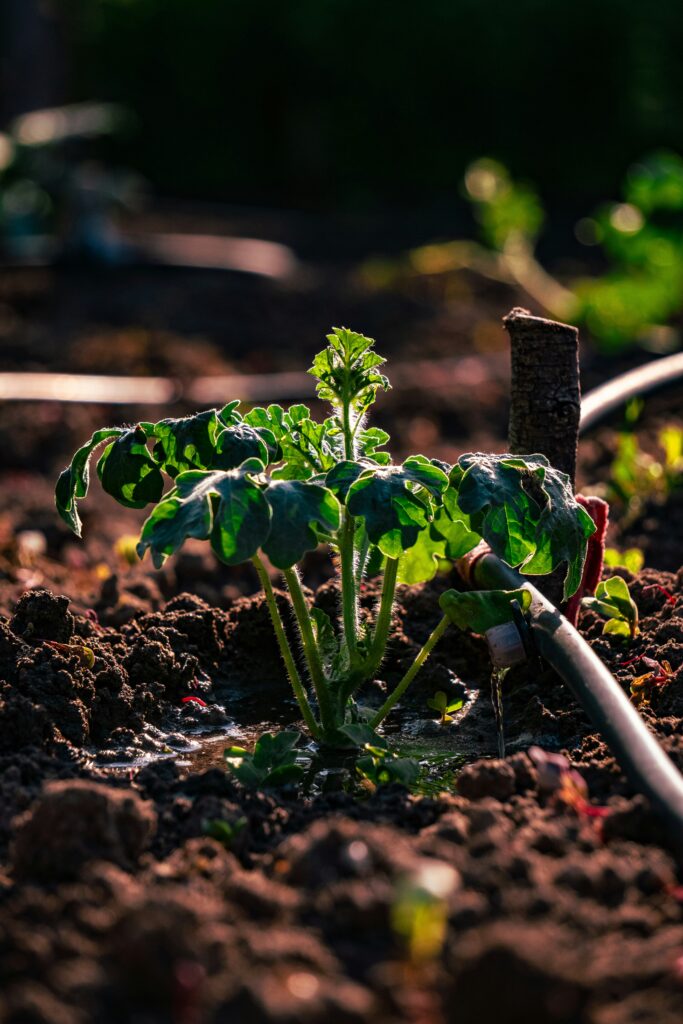
Drip irrigation is more targeted. Water is released slowly at soil level, close to the plant roots.
That makes it useful if you want to:
- reduce wasted water
- avoid wetting leaves
- water pots more evenly
- keep greenhouse crops consistent
- make holiday watering easier
- use a timer without flooding the garden
For many UK gardens, the best approach is a mix. Use watering cans where they make sense, rainwater where possible, and drip irrigation for the areas that need regular attention.
What You Need for a Basic Drip Irrigation System
A basic drip irrigation system usually includes a few simple parts.
Main pipe
The main pipe carries water from your tap, water butt or pump to the growing area.
Many garden systems use a wider main pipe, then smaller tubes branch off to individual plants. It is usually easiest to stick with one brand or pipe size, as connectors do not always fit neatly between different systems.
Feeder pipe
Feeder pipe is the smaller tubing that carries water from the main pipe to individual pots or plants.
This is useful for patio containers, greenhouse crops and plants that are spaced apart.
Drippers or emitters
Drippers release water slowly near each plant.
Some drippers have a fixed flow. Others are adjustable, which is useful if one plant needs more water than another.
For example, a large tomato plant in a greenhouse will usually need more water than a small herb pot.
Soaker hose
Soaker hose releases water along its length.
It is useful for:
- raised beds
- vegetable rows
- hedges
- long planting strips
It is less precise than individual drippers, but it is simple and effective for rows of plants.
Connectors and end stops
You may need connectors, elbows, T-pieces and end stops to shape the system around your garden.
These let you split the pipe, turn corners and close the end of the line.
Filter
A filter helps stop grit, algae and debris from blocking the drippers.
This is especially important if you use water from a water butt. Rainwater can carry small bits of leaf, moss, sediment or algae into the system, and tiny drippers block more easily than people expect.
Timer
A timer is optional, but useful.
It lets you water early in the morning, while you are away, or during busy weeks when watering is easy to forget.
Pressure reducer
Some systems need a pressure reducer when connected to a mains tap.
Mains water pressure can be too strong for small drippers and micro tubing. If the pressure is too high, connectors may leak or pop off.
Tap, Water Butt or Pump?
Before setting up the pipe, decide where the water is coming from.
The three most common options are:
- outdoor tap
- water butt
- water butt with pump
Each has pros and cons.
Using an Outdoor Tap
An outdoor tap is usually the easiest option.
It gives reliable pressure, works well with timers, and is suitable for longer pipe runs.
A tap-based drip irrigation system is useful for:
- greenhouse watering
- raised beds
- patio pots
- larger vegetable patches
- automatic watering while away
The usual setup is:
- tap
- timer, if using one
- pressure reducer, if required
- filter
- main pipe
- drippers or soaker hose
Always test the system before relying on it. Let it run while you check every connector and dripper.
Using a Water Butt
A water butt is a good option if you want to use stored rainwater instead of mains water.
This is especially useful if you are on a water meter or want to reduce tap water use during dry periods.
The main limitation is pressure. Water butts rely on gravity unless you add a pump, so the flow is usually weaker than an outdoor tap.
A water butt setup works best for:
- short pipe runs
- nearby raised beds
- small greenhouses
- a small number of pots
- simple soaker hose layouts
It may struggle with:
- long pipe runs
- lots of drippers
- uphill sections
- small emitters that need more pressure
- uneven flow from one end to the other
If you are planning to use rainwater more seriously, see our guide to the Best Water Butts for UK Gardens.
When Might You Need a Pump?
You may need a pump if a water butt does not provide enough flow.
Signs the pressure is too low include:
- drippers barely working
- the first plants getting water but the last ones staying dry
- water not reaching the end of the pipe
- flow becoming weak as the water butt level drops
- the system only working when the butt is full
For a small setup, try gravity first. For a larger greenhouse, several pots, or a longer run from a water butt, a small pump may make the system more reliable.
How to Set Up a Drip Irrigation System Step by Step
The exact setup depends on the kit or parts you use, but the basic process is usually the same.
1. Decide What You Want to Water
Start with the plants that need regular watering.
Good candidates include:
- greenhouse tomatoes
- cucumbers
- peppers and chillies
- patio pots
- raised beds
- salad crops
- strawberries
- courgettes
- young shrubs
- newly planted fruit bushes
You do not need to water the whole garden automatically.
In most gardens, drip irrigation works best when it solves a specific problem. That might be a greenhouse, a row of pots, or a raised bed that dries out quickly.
2. Sketch a Simple Layout
Make a rough sketch before cutting any pipe.
Mark:
- the water source
- the plants or beds you want to water
- where the main pipe will run
- where smaller pipes will branch off
- where the line should end
Keep the layout as simple as possible. Short, direct runs are usually easier to install and more reliable.
Avoid making the water travel further than it needs to.
3. Connect the Main Pipe
Connect the main pipe to your tap, water butt connector or pump.
If the pipe feels stiff, warming the end in warm water can make it easier to push onto the connector.
Do not turn the water on fully yet. Connect everything first, then test slowly.
4. Lay Out the Pipe Before Cutting
Lay the pipe around the garden before making final cuts.
Check that:
- the pipe reaches every area
- there are no sharp kinks
- it does not create a trip hazard
- it sits close enough to the plants
- the end of the line can be closed
Once you are happy, cut the pipe cleanly with sharp scissors or secateurs.
5. Add Drippers or Soaker Hose
Use individual drippers for separate plants and pots.
Use soaker hose or drip line for rows, raised beds and planting strips.
As a rough guide:
- one dripper may be enough for a small pot
- larger pots may need two or more
- greenhouse tomatoes may need more than one dripper
- soaker hose works well for rows of crops
- adjustable drippers are useful for mixed planting
Place the water near the root area, not directly against the stem.
6. Secure the Pipes
Use pegs, clips or stakes to hold the pipe in place.
This matters more than it sounds. If the pipe moves, water may drip away from the roots.
In raised beds, you can lightly cover the pipe with mulch. This helps reduce evaporation and keeps the system tidy, but leave it accessible enough to check for leaks.
7. Test the System
Turn the water on slowly and watch the whole system.
Check:
- every dripper is flowing
- water reaches the end of the line
- connectors are not leaking
- no pipes have popped off
- no areas are flooding
- the water is reaching the soil around the plants
Do not only check the first few drippers. The far end of the system is where weak flow often shows up first.
8. Add a Timer if Needed
A timer is useful if you want automatic watering.
It is especially helpful for:
- greenhouse crops
- patio pots
- holidays
- busy weeks
- early morning watering
For many UK gardens, early morning is a good time to water because less moisture is lost to evaporation and plants have water available during the day. Evening watering can also work, but avoid leaving greenhouse foliage wet overnight where possible.
Start with short watering sessions and adjust based on the soil.
As a rough starting point:
- small pots: 10–15 minutes
- large pots: 15–25 minutes
- raised beds: 15–30 minutes
- greenhouse crops in warm weather: 20–40 minutes
These are only starting points. Soil type, weather, plant size, pot size and dripper flow all make a difference.
Check the soil a few centimetres down. If only the surface is damp, run the system for longer. If water is pooling or running away, reduce the time or flow.
Holiday tip: never set up a new automatic watering system the day before you go away. Run it for several days while you are still at home. If a connector leaks, a pipe pops off, or a timer setting is wrong, you want to spot it before your plants are relying on it.
HomeGrower Pro Tip: Use Mulch Over Drip Irrigation
Drip irrigation works even better when you combine it with mulch.
A drip system puts water close to the roots, but damp soil can still dry quickly if the sun and wind reach the surface. A few centimetres of mulch helps keep that moisture in the soil for longer.
Good mulch options include:
- compost
- straw
- bark
- woodchip around permanent plants
- leaf mould
- grass clippings in thin layers
Lay the drip pipe first, then mulch around or lightly over it. Do not bury the system so deeply that you cannot find leaks or blocked drippers.
This combination is especially useful in raised beds, greenhouse borders, fruit beds and large containers.
Fruit Canes and Permanent Planting
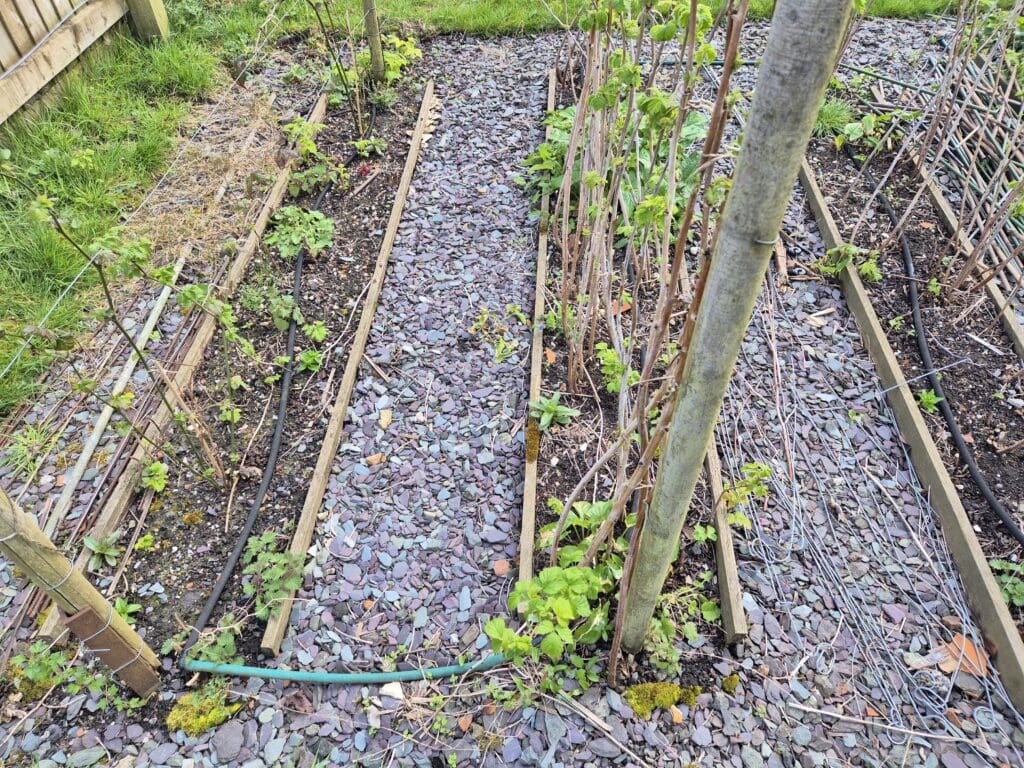
A drip irrigation line feeding raspberry canes in my garden, keeping water on the planting strip rather than the gravel path..
Drip irrigation can also work well for fruit canes such as raspberries, especially when they are growing in a narrow strip of soil beside a path, fence or boundary.
In my own garden, I use a simple irrigation line along a raspberry area where hand watering would otherwise mean soaking the gravel path as much as the plants. Running the line close to the canes keeps the water focused on the planting strip instead.
This is where drip irrigation starts to make sense beyond pots and greenhouses. Once fruit canes are in a fixed position, you can leave the pipe in place through the growing season and water the same root zone each time.
For raspberries, keep the pipe close to the base of the canes and use mulch where possible. That helps hold moisture in the soil and reduces how often you need to water during warm, dry spells.
How Much Does Drip Irrigation Cost to Run?
The running cost depends on whether you use mains water, stored rainwater, or a pump.
If you use water from a water butt, the water itself is free. The only running cost may be a small amount of electricity if you use a pump.
If you use mains water and you are on a water meter, the cost depends on how many litres you use and your water company’s charges.
Water is usually charged per cubic metre. One cubic metre is 1,000 litres.
As an example, Thames Water’s metered charges from 1 April 2026 are £2.7346 per cubic metre for clean water and £1.4721 per cubic metre for wastewater. That is just over £4.20 per cubic metre before any standing charges, so 100 litres would cost roughly 42p using that example.
Actual charges vary by supplier and region, so check your own water bill for the most accurate figure.
That means a single watering session may not cost much on its own, but repeated watering through a dry summer can add up.
Are Drip Irrigation Systems Better if You Are on a Water Meter?
If you are on a water meter, drip irrigation can make more sense than using a sprinkler.
A sprinkler can be convenient, but it often waters paths, leaves, bare soil and gaps between plants. Drip irrigation is more targeted, so less water is wasted.
The saving depends on:
- your garden layout
- how often you water
- how long the system runs
- how well the drippers are positioned
- whether you use a timer
- whether you use stored rainwater
A badly adjusted drip system left running for too long can still waste water. But for pots, raised beds and greenhouse crops, drip irrigation is usually the more efficient option.
If you are not on a water meter, the financial saving may be less obvious. Even then, drip irrigation can still save time and help keep plants watered more consistently during dry spells.
Example: Sprinkler vs Drip Irrigation Water Cost
It is hard to give an exact comparison because every system is different, but a simple example helps.
Imagine you use 100 litres of mains water on a vegetable bed with a sprinkler.
Using the Thames Water example above, that would cost roughly 42p in metered water and wastewater charges.
If a drip irrigation system watered the same plants effectively using 50 litres instead, the water cost would be roughly 21p.
That does not sound like much for one watering session. But if you water several times a week through a dry spell, the difference becomes more noticeable.
The bigger benefit is that drip irrigation is targeted. Less water goes on paths, leaves and empty soil, and more goes near the roots.
Best Places to Use Drip Irrigation
Drip irrigation is not needed everywhere. It works best in the parts of the garden that dry out quickly or need regular watering.
Patio Pots
Pots dry out faster than ground soil, especially in warm weather.
For patio pots, individual drippers usually work better than soaker hose.
A simple setup might use:
- a main pipe along the back of the pots
- small feeder tubes into each container
- one dripper for small pots
- two or more drippers for large pots
- adjustable drippers for mixed plants
Try to group plants with similar watering needs together.
For example, Mediterranean herbs and thirsty tomatoes should not usually be on the same watering schedule unless you can adjust the drippers separately.
Raised Beds
Raised beds are a good fit for drip irrigation because they can drain quickly and dry out in warm weather.
You can use:
- soaker hose
- drip line
- individual emitters
- a simple loop or grid layout
For rows of vegetables, run the drip line along each row.
For mixed planting, a loop or grid may work better.
Adding mulch after setting up the pipe can help keep moisture in the soil for longer.
Greenhouses
Greenhouses are one of the most useful places for drip irrigation.
Even when it rains outside, greenhouse plants still rely on you for water. Tomatoes, cucumbers, chillies and peppers can dry out quickly in warm weather.
Drip irrigation helps keep moisture more consistent and avoids soaking the leaves.
For greenhouse crops, use:
- individual drippers for pots
- drippers for grow bags
- drip line for border soil
- a timer during warm spells
- a filter if using rainwater
If you are planning a greenhouse setup and are looking at options, you may find our guide to the Best 8×6 Greenhouses helpful.
Indoor and Holiday Watering
Drip irrigation is not only for outdoor gardens.
Small indoor systems can help keep houseplants alive while you are away, although they need testing carefully before you rely on them.
Indoor watering is less forgiving than outdoor watering because leaks can damage floors, furniture and windowsills.
If you are mainly interested in holiday watering, read this real-world review on an indoor drip irrigation system I used when away on holiday.
Common Mistakes to Avoid
Drip irrigation is simple once it is working, but a few mistakes can cause problems.
Using Too Many Drippers on One Line
If one line has too many drippers, the first plants may get water while the last ones stay dry.
This is more likely with water butt systems because the pressure is lower.
If this happens, shorten the run, reduce the number of drippers, or split the system into two sections.
Forgetting the Filter
Drippers can block.
A filter is especially important if you use rainwater from a water butt, as small bits of debris, algae or sediment can build up.
If the system becomes patchy over time, blocked drippers are one of the first things to check.
Watering Too Often for Too Short a Time
Very short watering sessions may only wet the surface.
That can encourage shallow roots and leave plants struggling in warm weather.
It is usually better to water more thoroughly, then let the surface begin to dry before watering again.
Assuming a Timer Means You Can Ignore the Plants
A timer is helpful, but it does not replace checking the garden.
Pipes move, drippers block, batteries run out and weather changes.
If you are going away, test the system for several days before you leave.
Not Adjusting the Timer
A timer setting that works in July may be far too much in September.
Increase watering during hot, dry spells and reduce it during cooler or wetter periods.
Check the soil rather than relying only on a fixed schedule.
Can You Use Drip Irrigation During a Hosepipe Ban?
Check your water company’s current rules before using a mains-connected drip irrigation system during a hosepipe ban.
In the UK, hosepipe bans are usually Temporary Use Bans. These are set by water companies and can restrict watering a garden with a hosepipe.
Some drip or micro-irrigation systems may be treated differently from ordinary hosepipe use, but you should not assume they are automatically allowed.
A cautious approach is:
- water butt system: usually the safer option
- mains tap system: check your supplier’s rules first
- timer connected to tap: check before using during a ban
- watering can: often still allowed, but check local restrictions
If hosepipe bans are a regular concern in your area, using stored rainwater is a better long-term plan.
Simple Maintenance Checklist
A drip irrigation system does not need much maintenance, but it should be checked during the growing season.
Use this quick checklist:
- check that every dripper is flowing
- look for leaks at connectors
- make sure pipes have not moved
- clean or replace blocked drippers
- flush the line occasionally
- clean the filter
- check timer batteries
- inspect the far end of the system
- adjust watering times as the weather changes
- disconnect timers before hard frosts
Winter tip: if your system is connected to an outdoor tap, disconnect the timer and bring it indoors before the first frost. Digital timers can crack if water freezes inside them, and that can damage the internal parts.
If possible, drain pipes before winter so trapped water does not freeze inside the system.
Final Thoughts
A drip irrigation system can make garden watering easier, especially for pots, raised beds and greenhouses.
It is not something every part of the garden needs. The best approach is to use it where it solves a real problem: a greenhouse that dries out, a row of patio pots, a raised bed in full sun, or a holiday watering setup.
If you are on a water meter, drip irrigation can also help reduce waste compared with a sprinkler, especially when combined with mulch and stored rainwater.
Start small, test the system properly, and adjust it based on the soil rather than the timer alone. Once it is set up well, drip irrigation can save time, reduce wasted water and give plants a steadier supply of moisture through dry spells.
For wider advice on watering methods, including when to use cans, hoses, sprinklers and irrigation systems, the RHS has a useful guide to garden watering methods.