
Collecting rainwater is one of the easiest and most cost-effective steps towards a more self-sufficient garden. In this guide, you’ll learn how to set up a water butt in a UK garden — from choosing the right size to connecting it to a downpipe for simple rainwater collection.
Whether you want to reduce water bills, help your plants thrive, or prepare for hosepipe bans, this step-by-step guide covers everything you need to get started.
If you’re ready to choose one, see our guide to the best water butts for UK gardens.
Why Install a Water Butt?
- Save money: Reduce your water bills by collecting and reusing rainwater.
- Better for plants: Rainwater is softer than tap water and ideal for most garden plants.
- Stay resilient: During hosepipe bans or dry spells, your water butt keeps a steady supply ready.
- Eco-friendly: Less reliance on mains water means a smaller environmental footprint.
Choosing the Right Water Butt Size (UK Options)
When learning how to set up a water butt, size matters — but it’s not just about going bigger.
- Small water butts (100–200 litres): Ideal for narrow spaces, patios, or placing close to where you actually use water (back doors, sheds, greenhouse edges).
- Medium water butts (200–500 litres): A good all-round option if you have space for a single main butt.
- Large water butts (500–1,000 litres): Useful if you want to store more water in one place, but they take up more room and are harder to position.
💡 Tip: In many UK gardens, it’s often more practical to use multiple smaller water butts rather than one large tank.
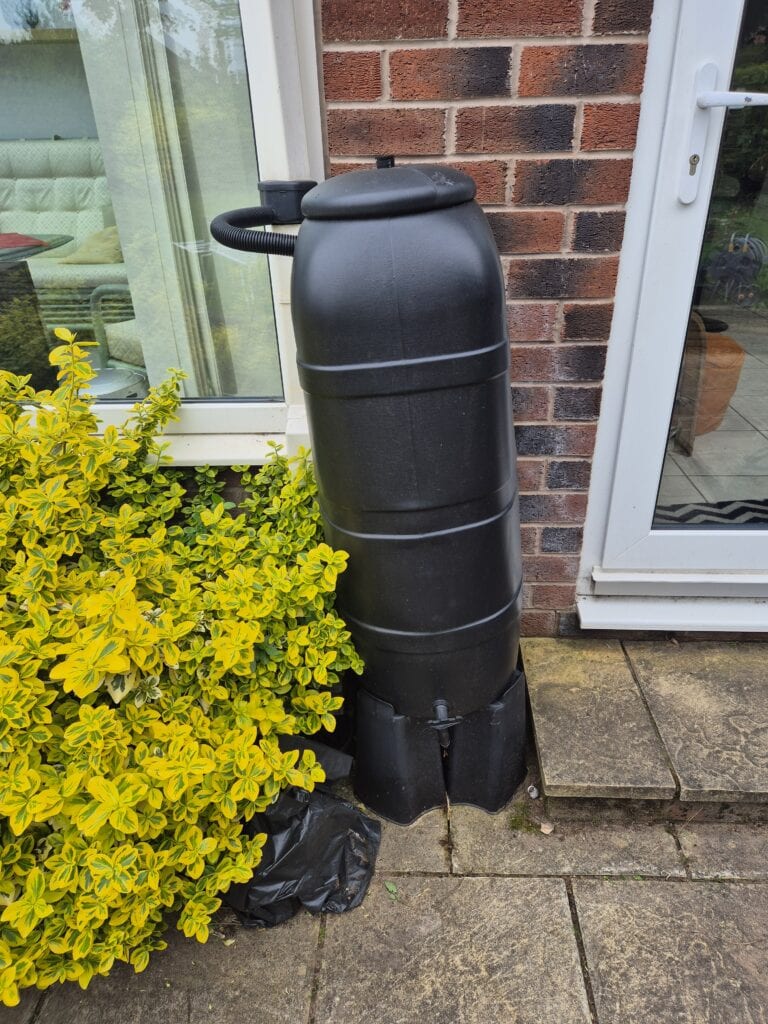
For example, I use two 100L butts — one by the back door and one by the shed — and will likely add more over time. Spreading them out like this means:
- you’re always close to water
- you collect more rain from different roofs
- you don’t need to carry watering cans as far
Step-by-Step Water Butt Installation (UK Guide)
What You’ll Need
Before you start, it’s worth checking you’ve got a few basic tools and parts ready:
- Water butt (with tap and lid)
- Diverter kit (usually included with most UK water butts)
- Hacksaw (for cutting plastic downpipes)
- Tape measure (to position the diverter correctly)
- Spirit level (helpful for getting the base stable)
Most setups are straightforward, and you won’t need anything specialist — just take your time when measuring and cutting.
1. Pick the Perfect Location
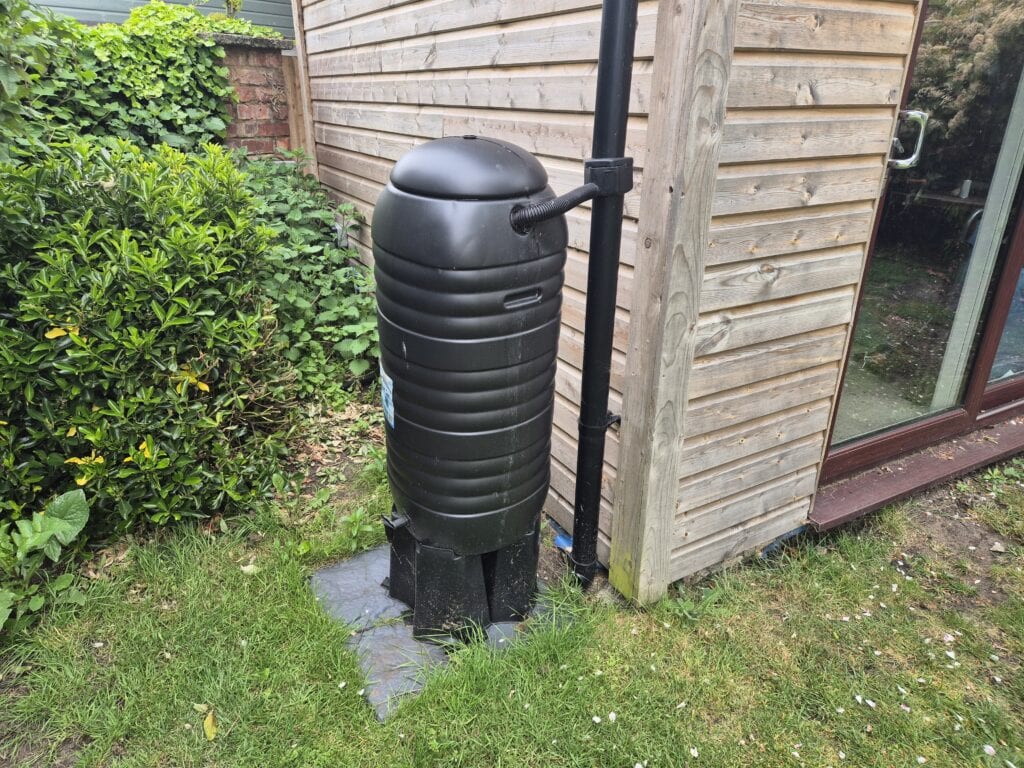
Place your water butt next to a downpipe on your house, shed, or greenhouse.
The surface needs to be level and solid. Paving slabs are ideal, but a quick and practical option is to use plastic tiles or a simple base to spread the weight — especially if you’re placing it on grass or soil. These aren’t perfect long-term, but they work well and are easy to adjust if things shift over time.
Raise the water butt on a stand or bricks so you can easily fill watering cans. They often come with plastic stands but these can be a little flimsy and difficult to stabilise.
💡 Real-world tip:
Even if you start with a level base, it can settle or tilt over time (I’ve had this happen on a patio).
If that happens, you don’t necessarily need to redo the base — you can:
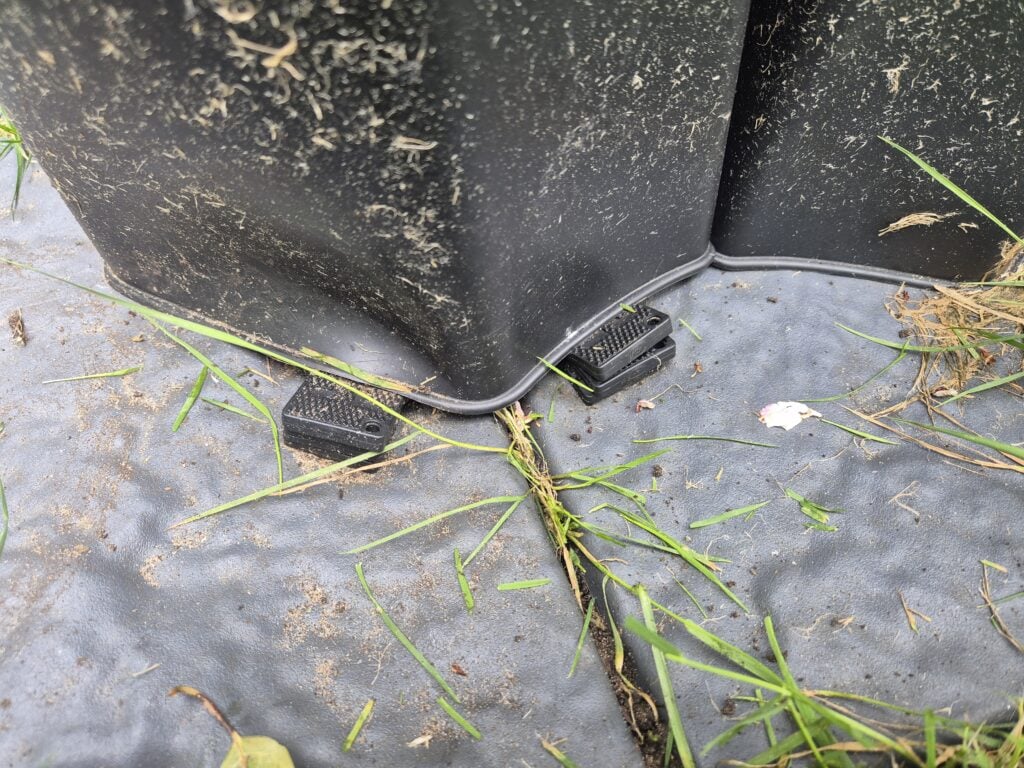
- use small spacers or wedges to level it again
- place it on plastic tiles or a simple base to spread the weight (this is what I’ve used on grass and it works well)
- adjust one side until the butt sits stable again
I’ve found this much quicker and easier than relaying slabs, especially for smaller 100–200L butts.
I’m currently using up the water in the wonky butt shown below so I can level it again.
2. Install the Diverter Kit
Most UK water butt kits come with a diverter that connects to your downpipe.
- For plastic downpipes, mark the correct height and cut carefully with a hacksaw. The first time you cut into a downpipe can feel a bit drastic, but plastic pipes are easy to work with and inexpensive to fix if needed.
- For cast iron downpipes, use an angle grinder or consider getting help — they’re harder to cut cleanly.
💡 Tip:
Position the diverter slightly below the top of the water butt inlet so water flows naturally into it without backing up.
3. Connect the Hose
Attach the supplied hose to channel rainwater from the downpipe into your butt.
Once full, the diverter automatically redirects excess water back to the drain — making connecting a water butt to a downpipe simple and automatic.
👉 Make sure the hose runs slightly downhill into the butt to avoid slow flow or blockages.
4. Secure the Lid
Always keep the lid on tight to prevent algae, debris, and insects from entering.
👉 This also helps reduce evaporation and keeps the water cleaner for longer.
Expanding Your Rainwater Storage
Expanding Your Rainwater Storage
- Multiple downpipes: Install a water butt under each downpipe to capture more rainwater — this is often more effective than relying on just one.
- Linking butts: Use a connector kit to connect two or more water butts, letting the overflow from one fill the next.
Make sure your diverter can handle overflow properly — once your butts are full, water should return safely to the downpipe rather than spilling near your house.
💡 In practice, spreading smaller butts around your garden (rather than one large tank) often makes watering easier day-to-day — you’re never far from a water source.
Seasonal Water Butt Maintenance
Seasonal Water Butt Maintenance
- Winter: Leave space at the top for ice expansion, or drain the butt during prolonged freezing weather to avoid damage.
- Spring: Clean out any algae or sediment before reconnecting your diverter.
- Autumn: Check the diverter inlet for moss and debris — if your water butt stops filling despite rain, this is often the cause.
- Ongoing: Check taps and connections occasionally — small leaks are common over time.
Maintaining your water butt ensures clean, usable water all year round with minimal effort.
Beyond the Basics – Other Rainwater Systems
Once you’ve set up a water butt, you can expand into larger storage tanks or more permanent systems — useful if you want to collect more water or reduce reliance on mains supply over time.
For most UK gardens, though, a few well-placed water butts will cover the majority of your needs.
Final Thoughts
Setting up a water butt in the UK is one of the simplest and most practical upgrades you can make to your garden. With a straightforward setup and the right placement, you can collect and reuse hundreds of litres of rainwater throughout the year.
In most cases, it doesn’t need to be perfect — even a simple setup next to a shed or back door can make a noticeable difference to how you water your plants.
If you’re still choosing a setup, you might find our guide to the best water butts in the UK helpful for comparing sizes and options.
For more practical growing advice, explore the rest of HomeGrower — or for detailed gardening guidance, the Royal Horticultural Society is always a reliable source.
📎 Related Guides
- Best Water Butts for UK Gardens
Compare the most practical water butt options — from simple budget setups to larger and more space-efficient designs. - Drip Irrigation System UK Guide
Simple ways to automate watering and make the most of collected rainwater. - HomeGrower Guide to Outdoor Growing
Practical setups and advice for growing successfully outside in UK conditions.
What is the best place to put a water butt?
Place it on a firm, level surface next to a downpipe. Raising it on a stand or bricks makes it easier to fill watering cans and improves flow.
Can you connect a water butt to any downpipe?
Yes. Most diverter kits fit round or square plastic downpipes. For cast iron downpipes, you may need an angle grinder or professional help.
How many water butts can you connect together?
You can link two or more butts with connector kits, so when one fills, the overflow runs into the next. Many UK gardeners also use separate butts on different downpipes to spread water storage around the garden.
What size water butt do I need?
Small water butts (100–200L) are ideal for narrow spaces or placing close to where you use water. Many UK gardeners find it more practical to use multiple smaller butts rather than one large tank.