
If you want to learn how to prepare a shed base properly, the most important thing to understand is that a solid foundation determines the entire lifespan of your shed. A good base stops sinking, warping, water damage, and alignment issues — all of which shorten a shed’s life.
Below is a simple, practical guide showing you exactly how to prepare a shed base for wooden, plastic, and metal sheds.
Why a Proper Shed Base Matters
A well-built base gives you:
- Level support: ensures doors and windows open smoothly
- Moisture protection: prevents damp rising into the floor
- Longevity: stops rot in wooden sheds and corrosion in metal ones
- Stability: avoids leaning, shifting, or cracks over time
- Load capacity: lets you store heavy items safely
If you know how to prepare a shed base correctly, you avoid almost all common shed problems later.
Types of Shed Base
When deciding how to prepare a shed base, your first choice is what type of foundation you want. Most UK gardens use one of the following:
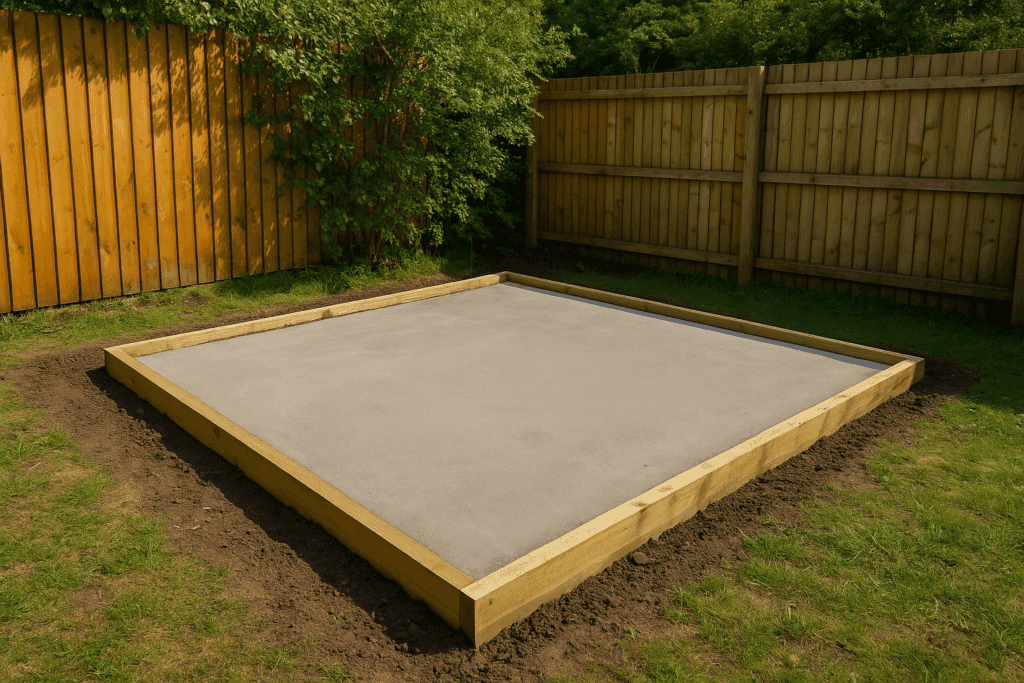
1. Concrete Base (Most durable)
Best for medium to large sheds, workshops, and heavy storage.
- Strongest option
- Completely level and long-lasting
- Requires mixing, forming and a curing time
2. Paving Slab Base (Popular for DIY)
Great for small to medium sheds.
- Easier than concrete
- Good drainage between slabs
- Can be adjusted more easily
3. Timber Frame Base (Fast installation)
Best for timber sheds, areas where digging is difficult, or where the ground is sloped.
- Fast to build
- Cheaper than concrete
- Needs treated timber and good ground contact protection
4. Plastic Grid Base (Ideal for uneven or soft ground)
Lightweight recycled grids filled with gravel.
- Quickest to install
- Great drainage
- Works well for plastic or metal sheds
How to Prepare a Shed Base: Step-by-Step
Below is the universal process used for all shed base types — you’ll choose the final material afterwards.
1. Choose the Right Location
Pick an area that is:
- Level or can be levelled
- Not prone to standing water
- At least 30cm wider than your shed’s footprint
- Accessible from the house
Avoid placing the shed directly under large trees — shade, falling debris, and invasive roots can all cause long-term moisture and stability issues.
2. Mark the Shed Footprint
Use string lines and four pegs to outline the size of your shed.
- Measure the shed’s footprint.
- Add 150–200mm extra on each side — this gives you room for edging, drainage gravel, and easier installation.
- Create a rectangle with your string lines.
3. Check the Diagonals (Make Sure It’s Square)
Before you move on, make sure your layout is perfectly square. This prevents twisted shed frames, uneven floors, and doors that don’t shut properly.
Here’s how:
- Measure the distance from front-left peg to back-right peg (first diagonal).
- Measure the distance from front-right peg to back-left peg (second diagonal).
- Compare the two measurements.
➡️ If both diagonal measurements are equal, the rectangle is square.
➡️ If they differ — even by 10–20mm — adjust the pegs until the diagonals match.
This is the same method used in building foundations: equal diagonals guarantee accurate 90° corners, which is essential for a shed to sit correctly on the base.
4. Excavate the Area
Dig down 50–100mm depending on base type.
- Remove turf
- Remove loose soil
- Create a flat, even surface
If your ground is very soft, go deeper.
5. Add a Weed Membrane
Lay a heavy-duty landscape membrane across the entire area.
This prevents weeds growing through slab joints or timber gaps.
6. Add a Sub-Base (For Stability)
Cover the area with MOT Type 1 or hardcore, approx:
- 50mm deep for plastic bases / paving
- 75–100mm for concrete
Compact using a hand tamper or plate compactor.
A firm sub-base is crucial — this is what stops the shed sinking.
7. Level and Compact
Use a long spirit level across timber straightedges.
Check:
- Front-to-back
- Side-to-side
- Diagonals
This step matters most for wooden sheds — a twisted base causes twist in the frame.
Installing Each Base Type
Below are the specific steps for building each type of shed base after completing the groundwork above:
Concrete Base
Perfect for permanent sheds.
- Build timber formwork (the exact shed footprint).
- Mix concrete (1 part cement : 2 parts sand : 3 parts gravel).
- Pour and level with a screed board.
- Smooth the surface with a float.
- Leave to cure for 48 hours before placing the shed.
Paving Slab Base
Good balance of price and strength.
- Place slabs on top of compacted sub-base.
- Tap down with a rubber mallet.
- Check each slab is perfectly level with the next.
- Fill joints with kiln-dried sand.
For more detail on laying paving slabs, Wickes has a clear step-by-step guide.
Timber Frame Base
Suits sloped gardens or fast builds.
- Build a frame using pressure-treated 4×2 or 6×2 timber.
- Add internal cross-supports every 40–60cm.
- Use spirit level to ensure frame is square and flat.
- Place on concrete blocks or ground spikes.
Plastic Grid Base
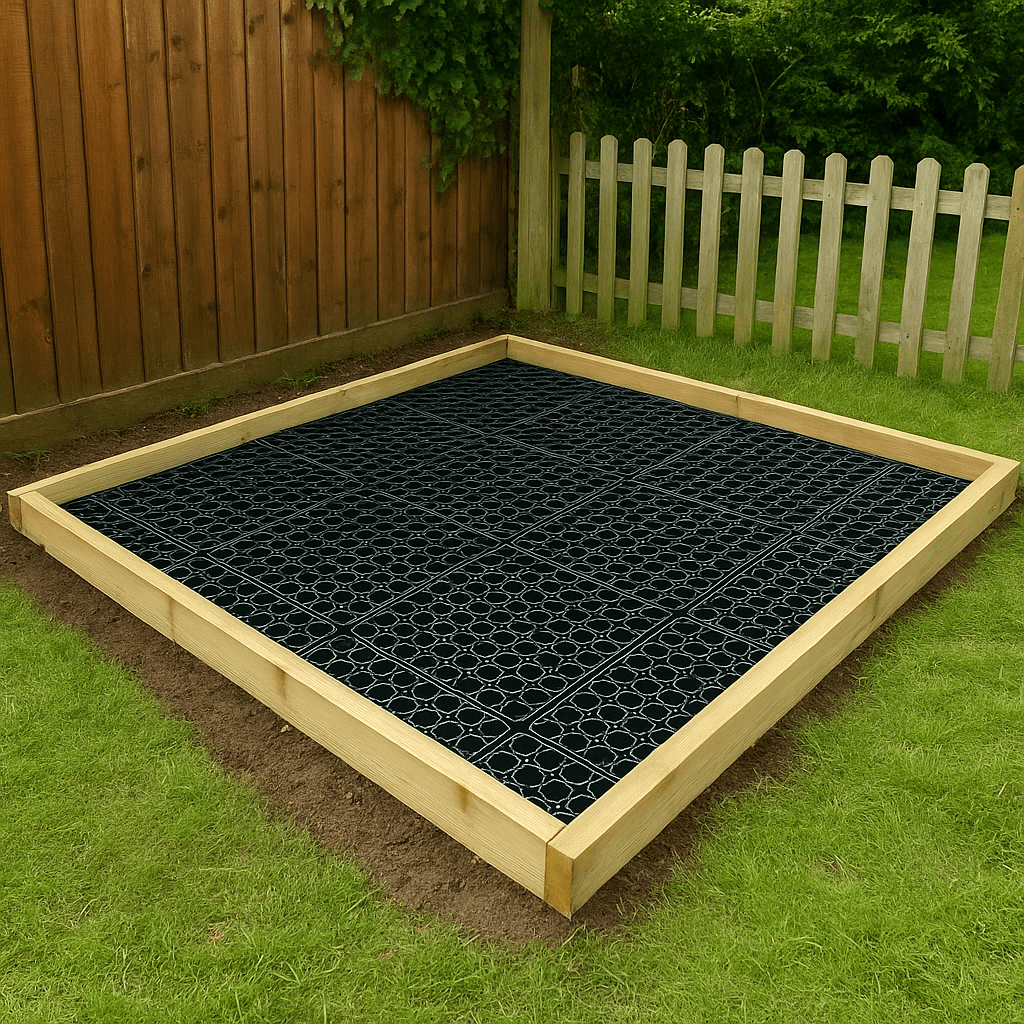
Most plastic bases work best when the grid is filled with 10–20mm gravel to provide stability and drainage.
Most beginner-friendly.
- Lay plastic grid panels on the compacted sub-base.
- Clip panels together.
- Fill cells with 10–20mm gravel.
- Level the surface.
An optional extra is to add a timber frame around the grid to keep the gravel neatly contained and give the base a cleaner finish.
Plastic grids are ideal for wet gardens as they have excellent drainage.
Drainage: Don’t Skip This
A shed base must sit slightly above surrounding ground.
- Aim for 10–20mm higher than the garden
- Keep soil sloping gently away
- Add gravel around edges to prevent splash-back
This prevents rot at the lower edges of the shed.
Common Mistakes to Avoid
❌ Building directly on soil
❌ Not compacting the sub-base
❌ Laying slabs on sand only
❌ Not leaving enough overhang space
❌ Ignoring slope and drainage
Fixing these later is far harder than doing them right first time.
Final Checks Before Shed Installation
- Base is completely level
- Membrane fully covers area
- No rocking, wobbling or high spots
- Space left around perimeter for maintenance
If all the above is correct, your shed can be installed immediately.
🔗 Related Articles
- Best Type of Garden Shed: Wood, Metal or Plastic
Compare shed materials and choose the right option for long-term storage. - Best Metal Garden Sheds UK
Strong, secure, low-maintenance shed options ideal for long-term use. - Best Wooden Garden Sheds UK
A full guide to choosing durable timber sheds for natural garden storage. - Best Plastic Garden Sheds UK
Small, medium and large plastic sheds explored from budget to high end - Do You Need Planning Permission for a Shed?
A simple guide to when you do or do not need planning permission for a shed.
🛠️ How to Prepare a Shed Base – FAQs
What is the easiest type of shed base to install?
Plastic grid bases filled with gravel are usually the easiest. They’re lightweight, quick to level, and ideal for gardens where digging is difficult.
How deep should I dig for a shed base?
Most bases need 50–100mm excavation. Concrete may need slightly deeper ground prep, while plastic or slab bases need around 50mm.
Do I need a sub-base under a shed?
Yes. A compacted MOT Type 1 sub-base prevents sinking, movement, and uneven floors. It’s the foundation beneath every good shed base.
Can I prepare a shed base on uneven ground?
Yes — but you must level the area first or build up a timber frame. A flat base is essential for doors and windows to work properly.
Does drainage matter when you’re working on how to prepare a shed base?
Yes — drainage is one of the most important parts of how to prepare a shed base correctly. Raising the base slightly and adding gravel around the edges stops water pooling and protects the shed walls.
How long does concrete take to set when preparing a shed base?
When following guides on how to prepare a shed base, expect concrete to need at least 48 hours before placing the shed. Full curing takes around a week.
Can you put a shed straight on soil when learning how to prepare a shed base?
No. Any guide on how to prepare a shed base will tell you that soil alone is unstable. It shifts, becomes waterlogged, and causes sheds to sink or rot. A proper sub-base is essential.
What materials are essential when learning how to prepare a shed base?
The basics of how to prepare a shed base include: MOT Type 1 sub-base, a weed membrane, a level, timber for formwork, and either slabs, a concrete mix, or a plastic base system depending on the design you choose.