
If you saw a jar of milk separating into thick lumps and yellow liquid on your kitchen counter, your first instinct would be to bin it.
With kefir, that “mess” is exactly what you’re looking for.
This guide shows you exactly how to make milk kefir at home using nothing more than live grains and fresh milk. Making milk kefir is probably the lowest-effort fermentation skill you can learn. There’s no heating, no sterilising, and no precise timing. It’s simply milk and grains doing their thing while you get on with your day.
Once you start, you’ll have a permanent, self-renewing supply of probiotics — far cheaper and often more diverse than anything in a plastic supermarket bottle.
What Are Kefir Grains?
Kefir grains aren’t grains at all.
They’re small, rubbery clusters of bacteria and yeast living together in a structure made of proteins and sugars. This living community feeds on lactose in milk and transforms it into:
- Lactic acid
- Carbon dioxide
- Small amounts of alcohol
- Beneficial microbes
Think of them as a tiny livestock herd for your kitchen.
If you enjoy the “living culture” rhythm of kefir, you’ll find our How to Make a Sourdough Starter guide follows a very similar pattern.
Where to Get Kefir Grains
To make milk kefir, you’ll need live kefir grains. These aren’t available in most supermarkets, but they’re easy to source.
You can:
- Buy fresh kefir grains online from specialist fermentation suppliers
- Order them from marketplace platforms
- Ask locally — many people with active grains have extras to share
Avoid powdered “kefir starter” sachets if you want a self-sustaining culture. These typically work for one or two batches, whereas real grains multiply and can last indefinitely.
Once you have live grains, you only need milk to keep the cycle going.
What You Need
- Live milk kefir grains
- Fresh milk (whole milk works best to start)
- Glass jar
- Plastic or nylon sieve
- Bowl
- Silicone or wooden spatula
A Quick Word on Metal
You’ll often hear that metal “kills” kefir grains.
In reality, a quick stir with a stainless steel spoon won’t hurt them. The issue is long contact with reactive metals (like aluminium or copper), because kefir is acidic and can cause leaching.
Use a plastic sieve to be safe — but don’t panic if you briefly use a metal spoon.
Step-by-Step: How to Make Milk Kefir
Step 1 – Ferment
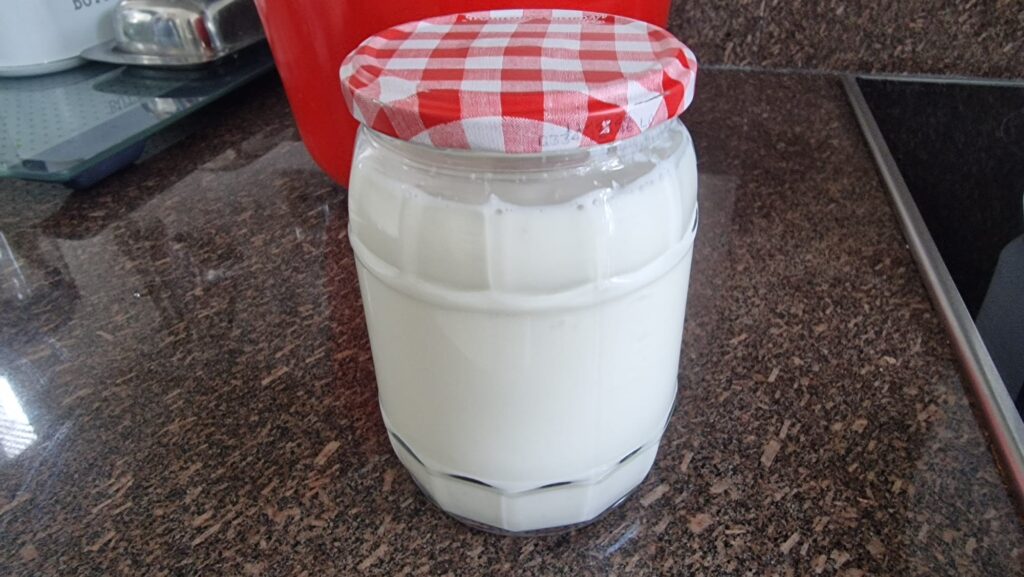
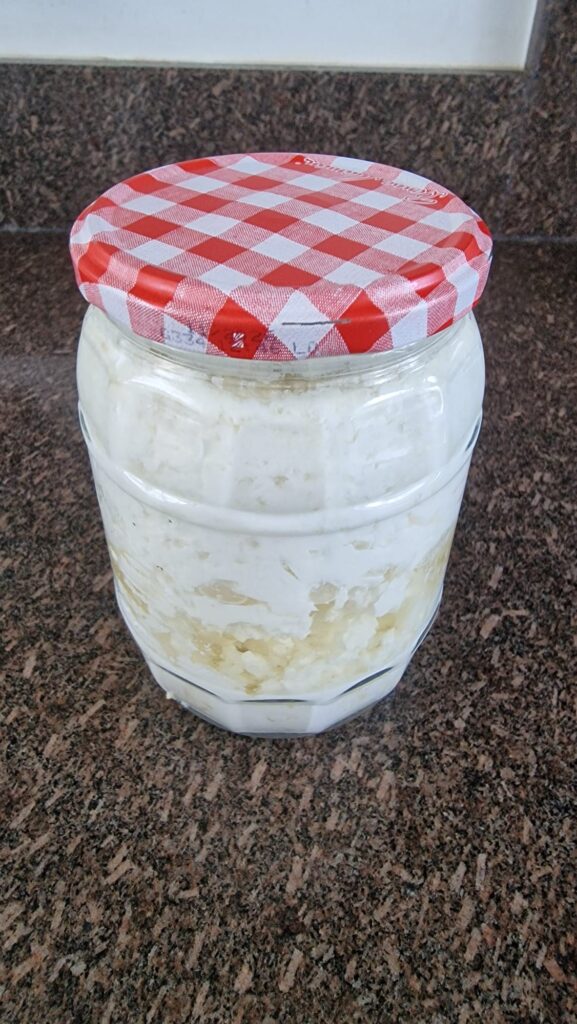
Place the kefir grains in a glass jar and cover fully with milk.
Leave on the countertop at room temperature for 24–48 hours.
After 24 hours, gently shake the jar:
- If it looks like thin yoghurt, it’s ready.
- If you see clear yellow liquid (whey) forming at the bottom, it’s really ready.
It looks “split,” but that’s just the kefir finishing its work.
In cooler rooms, fermentation takes longer. In summer, it may be done in under 24 hours.
Step 2 – Strain
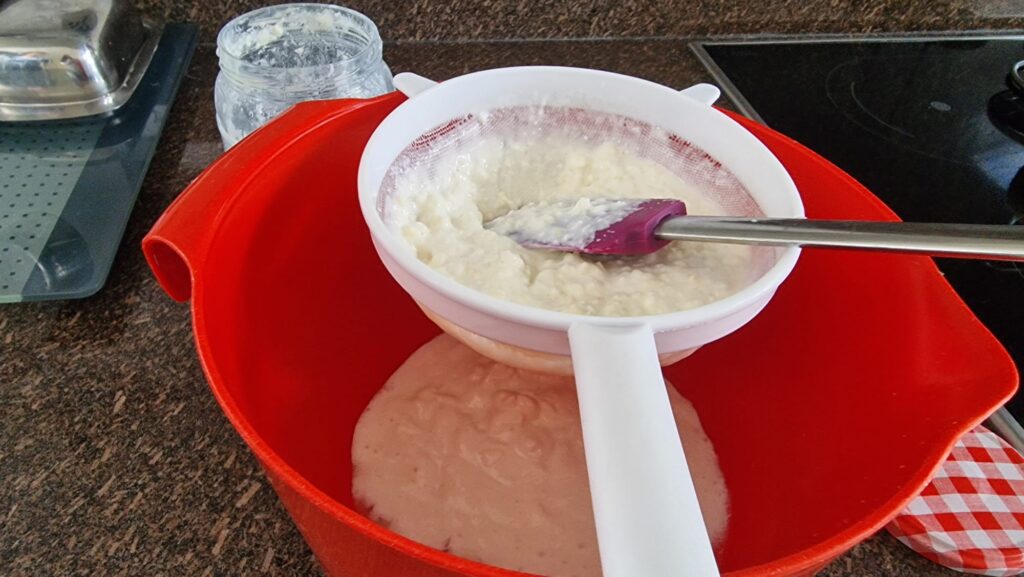
Place a sieve over a bowl and pour the contents through.
You can pour away some of the whey if you prefer thicker kefir.
The straining step is the only slightly fiddly part — once you’ve done it once, it becomes second nature.
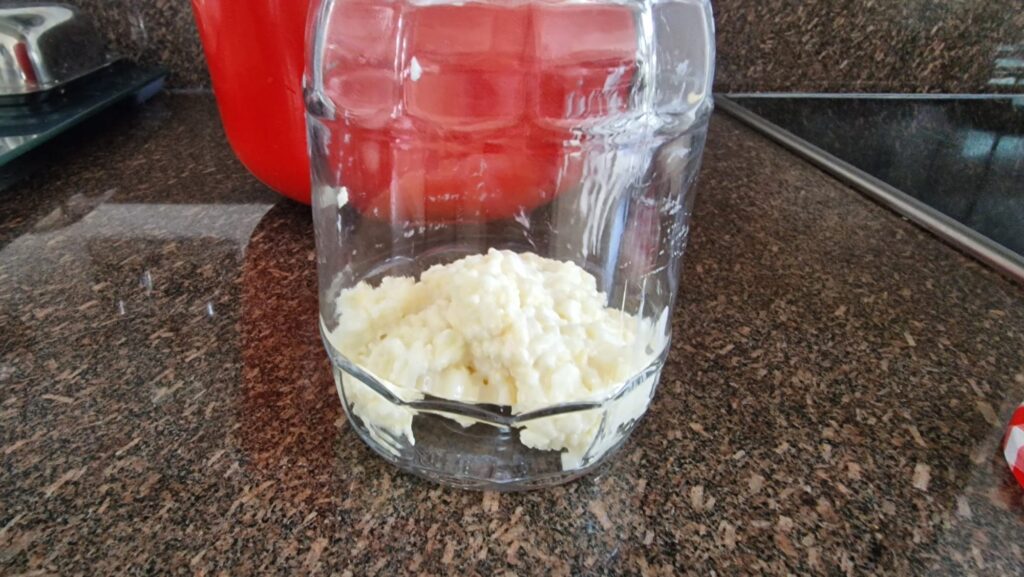
Step 3 – Separate the Grains
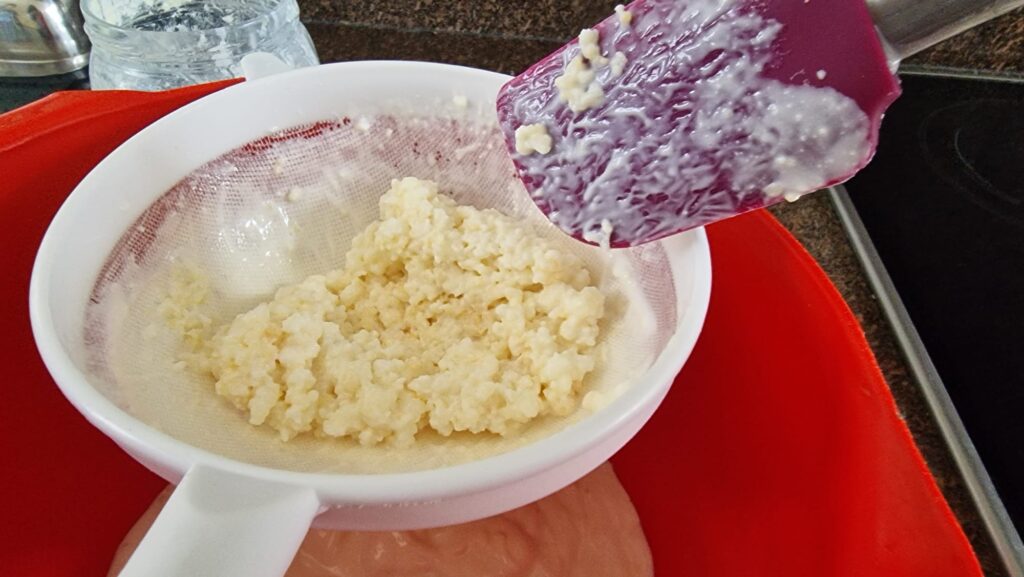
Use a spatula to gently push the kefir through the sieve.
The finished kefir will pass through, leaving the grains behind. Don’t force them — they should stay intact and slightly rubbery.
Step 4 – Use Your Kefir
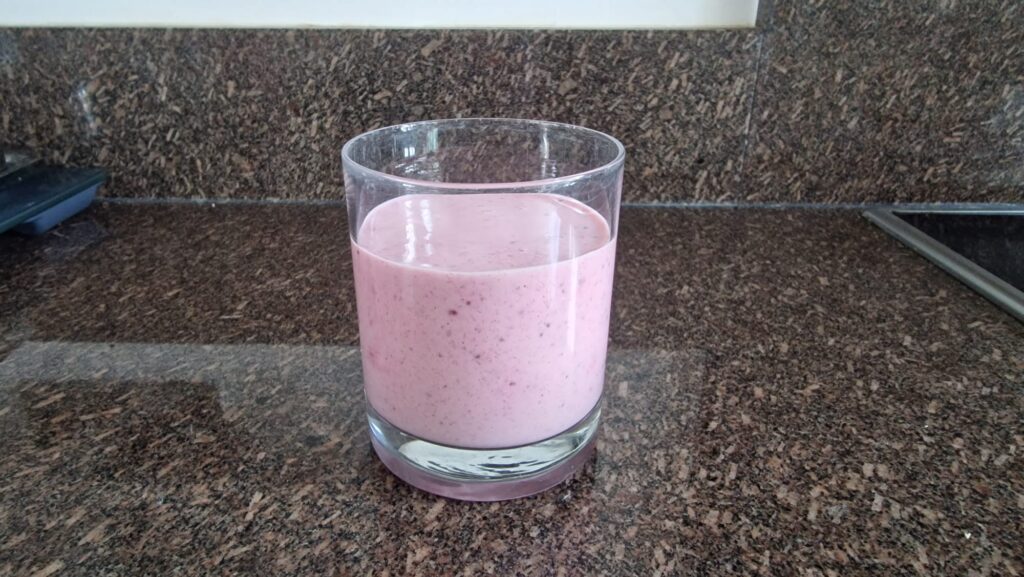
The strained kefir is ready to drink, cook with, or blend.
A simple smoothie idea:
- Kefir
- Banana (for sweetness)
- Berries
- Chia seeds (for thickness)
- Ginger, cinnamon, or coriander
It’s tarter than yoghurt — but refreshing and, for many people, noticeably helpful for digestion.
Step 5 – Restart the Process
Return the grains to a clean jar. Cover with fresh milk. Repeat.
That’s it. The cycle continues indefinitely.
Kefir and the Microbiome
Milk kefir is often praised because it contains a broad range of bacteria and yeasts working together — sometimes dozens of strains.
Unlike single-strain probiotic capsules, kefir provides:
- Lactic acid bacteria
- Beneficial yeasts
- Bioactive peptides
- Organic acids
Fermentation also partially breaks down lactose, which is why some people who struggle with milk tolerate kefir better.
From a self-sufficiency perspective, kefir is powerful because you’re cultivating a living microbial ecosystem in your own kitchen — no packaging, no supply chain, no repeat purchases.
For a wider look at traditional methods like this, see The HomeGrower Guide to Food Preservation.
Managing the “Grain Explosion”
Kefir grains are like mint in the garden — give them an inch and they’ll take a mile.
They grow and multiply every time you feed them.
Every few weeks you’ll likely have spare grains. Don’t feel obliged to keep them all.
You can:
- Give them to a neighbour
- Blend small amounts into smoothies
- Compost them (they’re excellent for soil microbes)
- Increase the amount of milk you ferment
How Long Does Kefir Keep?
The strained kefir will keep in the fridge for several days and continue fermenting slowly.
Do not use it if:
- You see blue or green mould
- It smells putrid (a sour smell is normal)
Holiday Care: What to Do With Kefir Grains When You Go Away
If you’re away for up to 1–2 weeks:
- Place the grains in a jar.
- Cover fully with milk.
- Store in the fridge.
They’ll slow down dramatically in the cold.
When you return, discard the first batch and restart at room temperature. It may take 1–3 cycles to regain full strength.
For longer breaks, some people dry or freeze grains — but for most households, refrigeration is enough.
⚠️ Common Problems When Making Milk Kefir
Even though kefir is one of the easiest ferments to manage, it can behave slightly differently depending on temperature, milk type and how active your grains are. Most issues are simple to correct.
Why is my kefir too thin?
Thin kefir is usually a sign that fermentation hasn’t gone far enough. In cooler kitchens, the grains work more slowly and may need closer to 48 hours rather than 24.
It can also happen if you are using a large amount of milk compared to a small number of grains. In that case, either allow it to ferment longer or slightly increase the number of grains.
Over time, as your grains strengthen and multiply, the texture often improves naturally.
Why is my kefir separating very quickly?
If your kefir is splitting into curds and whey in less than 24 hours, it usually means the grains are very active or the room is warm.
This isn’t a problem — it simply means fermentation is happening faster. You can strain earlier or increase the amount of milk slightly to balance it.
Separation looks dramatic, but it’s just a sign the grains have finished their work.
Why does my kefir smell yeasty?
A mild yeasty or bready smell is normal, especially as grains mature and grow.
However, if the smell is strongly unpleasant, putrid, or accompanied by visible coloured mould (such as blue, green or black patches), discard the batch immediately.
Sour and tangy is expected. Rotten or mouldy is not.
Why have my grains stopped growing?
If your grains appear smaller or stop multiplying, temperature is usually the reason. Cold rooms slow activity significantly.
Other common causes include switching milk types suddenly or leaving the grains refrigerated for long periods.
Return them to room temperature and feed them regularly for several cycles. In most cases, they recover fully.
Why Kefir Fits a Self-Sufficient Lifestyle
Kefir isn’t just another fermented drink. It’s a small, living system you can maintain in your own kitchen with almost no effort.
It requires no electricity, no specialist equipment, and no repeat purchases once you have grains. The culture reproduces itself, adapts to your home environment, and continues indefinitely with simple care.
Alongside sourdough and vegetable ferments, learning how to make milk kefir at home builds practical food resilience. It’s a reminder that not all nourishment has to come from a supermarket shelf.
Sometimes self-sufficiency starts with something as simple as a jar of milk on the counter.
🌿 Related Articles
If you enjoyed learning how to make milk kefir at home, you might also find these guides helpful:
- The HomeGrower Guide to Food Preservation
Explore traditional methods for storing, fermenting and preserving food at home. - How to Make a Sourdough Starter
Learn how to cultivate your own wild yeast culture for baking bread naturally.
FAQs About Making Milk Kefir
How long does milk kefir take to ferment?
Milk kefir typically takes 24–48 hours at room temperature. In warmer kitchens it may be ready sooner, while cooler rooms can slow the process. The milk will thicken and may begin to separate into curds and whey when fully fermented.
Can you use metal with kefir grains?
Brief contact with stainless steel is fine. The concern is prolonged contact with reactive metals such as aluminium or copper, as kefir is acidic. A plastic or nylon sieve is safest for straining.
How long do kefir grains last?
With proper care, kefir grains can last indefinitely. They continue to grow and multiply over time as long as they are regularly fed with fresh milk.
What happens if you leave kefir fermenting too long?
If left too long, kefir will separate into curds and whey and become more sour. This is normal and not harmful unless mould appears. You can strain it and use it as usual, or reduce fermentation time next batch.