
Learning how to make a sourdough starter is much simpler than most people think. It’s just flour, water and a little patience.
For the first few days it won’t look impressive. It may barely bubble. It may smell stronger than you expected mid-week. That’s normal.
You don’t need heat mats, specialist flour or perfect conditions. Just a jar, a spoon and a couple of minutes each day. If you keep feeding it consistently, the natural yeast will establish itself.
If you’re building practical kitchen skills, this sits alongside drying, bottling and other fermentation methods covered in our Food Preservation guide. A healthy starter becomes the foundation for homemade sourdough bread and other naturally fermented bakes.
What Is a Sourdough Starter?
A sourdough starter is a live culture made from flour and water.
Naturally occurring wild yeast and beneficial bacteria feed on the sugars in the flour. As they ferment, they produce:
- Carbon dioxide (bubbles)
- Natural acidity (sour flavour)
- Structure for bread
That natural yeast replaces commercial yeast in baking. Instead of opening a packet, you maintain your own living culture.
Like milk kefir grains, a sourdough starter is a self-sustaining fermentation system that strengthens over time with regular feeding. If you’re interested in exploring dairy fermentation as well, see our guide on How to Make Milk Kefir at Home.
What You Need
- A clean glass jar (500ml–1 litre is ideal)
- Plain flour (white, wholemeal or a mix)
- Water (room temperature)
- A spoon
- A loose lid or cloth cover
In most UK homes, tap water works perfectly well. If your water is heavily chlorinated, let it sit in an open jug for an hour before using it. This allows chlorine to dissipate and prevents it slowing fermentation.
No specialist ingredients required.
Day-by-Day Guide: How to Make a Sourdough Starter
This simple 7-day method works well in most kitchens.
Day 1
Add to your jar:
- 50g flour
- 50g water
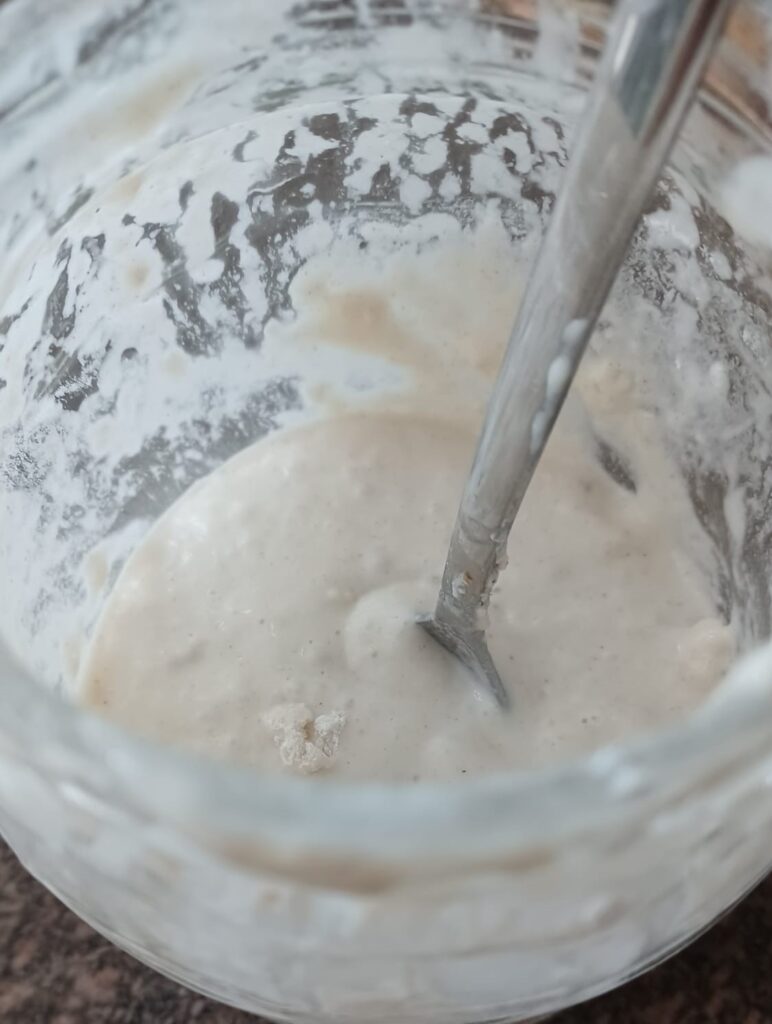
Stir until smooth. It should look like thick batter.
Loosely cover the jar (do not seal tightly) and leave at room temperature.
Nothing dramatic will happen today.
Day 2
You may see a few small bubbles. You may not.
Stir once or twice during the day.
It may smell slightly different already. That’s fine.
Day 3
You may notice more bubbling and a stronger smell.
Discard roughly half the mixture.
Add:
- 50g flour
- 50g water
Stir well and leave loosely covered.
Around Day 3 or 4, the smell can become noticeably stronger or slightly unpleasant. This often worries beginners, but it’s a normal stage of early fermentation. The balance of bacteria is still stabilising.
Keep discarding and feeding once a day. Within a few days, the smell usually becomes milder and more pleasantly sour.
Days 4–6
Repeat the same process each day:
- Discard roughly half
- Add 50g flour
- Add 50g water
- Stir
You should begin to see:
- More consistent bubbling
- A visible rise and fall
- A smell that becomes gently sour
You may feel wasteful throwing half away each day. The discard keeps the starter strong and prevents it from growing beyond what you can realistically feed. Without discarding, you’ll end up with far more starter than you can maintain.
Day 7
By around Day 7, your starter should:
- Double in size within 4–6 hours of feeding
- Look airy and bubbly
- Smell mildly sour (not unpleasant)
If it reliably doubles after feeding, it’s ready to bake.
If not, continue feeding daily for a few more days. Cooler kitchens may take a little longer.
How to Know Your Starter Is Ready
A mature starter will:
- Rise predictably after feeding
- Form bubbles throughout, not just on top
- Smell fresh and slightly tangy
- Look elastic when stirred
Once it behaves consistently, you can use it with confidence.
Fridge vs Counter: How to Maintain Your Starter
Many guides suggest keeping your starter on the counter and feeding daily.
That works — but it can feel like a chore.
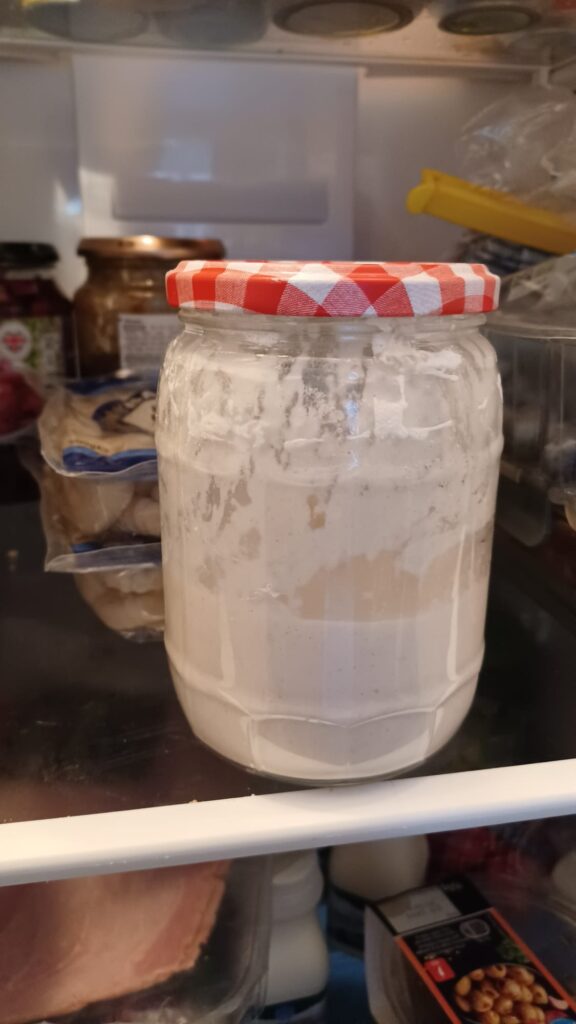
For most busy homes, storing your starter in the fridge is more practical.
Once established:
- Keep it in the fridge
- Feed roughly once a week
- Feed the morning you plan to bake
If a grey liquid forms on top (often called “hooch”), simply pour it off and feed as normal.
Think of your starter like a hardy garden plant, not a delicate pet.
Starter Troubleshooting
| Problem | Likely Cause | What to Do |
|---|---|---|
| No bubbles after 3–4 days | Cool room temperature | Move the jar to a slightly warmer spot and continue feeding daily. |
| Strong unpleasant smell mid-week | Normal early fermentation stage | Keep discarding and feeding once a day. The smell usually settles within a few days. |
| Grey liquid on top | Starter is hungry | Pour off the liquid (or stir it in for a more sour flavour), then feed as normal. |
| Mould (black, green or pink fuzz) | Contamination | Discard the starter and start again with a clean jar and fresh ingredients. |
| Very thin consistency | Too much water | Add slightly more flour at the next feed to thicken the mixture. |
What to Do Next
Once your starter is active and doubling reliably, you’re ready to bake.
Follow our simple method in the guide on how to make sourdough bread at home — using stretch and fold, overnight fermentation, and a standard oven setup.
From this point on, maintaining your starter becomes routine.
Final Thoughts
Learning how to make a sourdough starter isn’t about precision or perfection. It’s about understanding a simple natural process and letting it work.
With nothing more than flour, water and time, you create something that can last for years.
And once your starter is healthy, you’re ready to bake. Follow our simple method in the guide on how to make sourdough bread at home.
📎 Related Articles
If you’re building practical food storage and fermentation skills, start here:
- The HomeGrower Guide to Food Preservation
A complete overview of traditional methods including cool storage, drying, fermenting, bottling, and long-term pantry skills for UK homes. - How to Make Milk Kefir at Home
Learn how to make milk kefir using simple countertop fermentation, with storage advice, troubleshooting tips and microbiome benefits.